
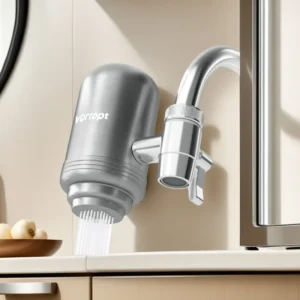
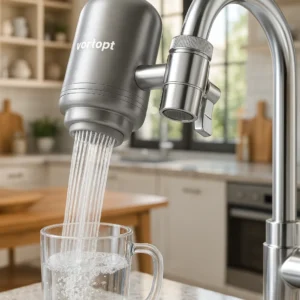

The VORTOPT T2 faucet water filter is a stainless steel, faucet-mounted system offered in two verified packages: one total filter installed, or two total filters with one installed and one spare. It is not described as a universal-fit product, so check your faucet outlet, thread direction, adapter route and selected package before ordering.
This page explains the exact choices, installation sequence, use, maintenance and limits supported by the T2 product record and owner-provided manual. It does not promise a fixed cartridge life, contaminant-reduction result or filtration-performance certification that the supplied evidence does not establish.
Choose the VORTOPT T2 faucet water filter for the right setup
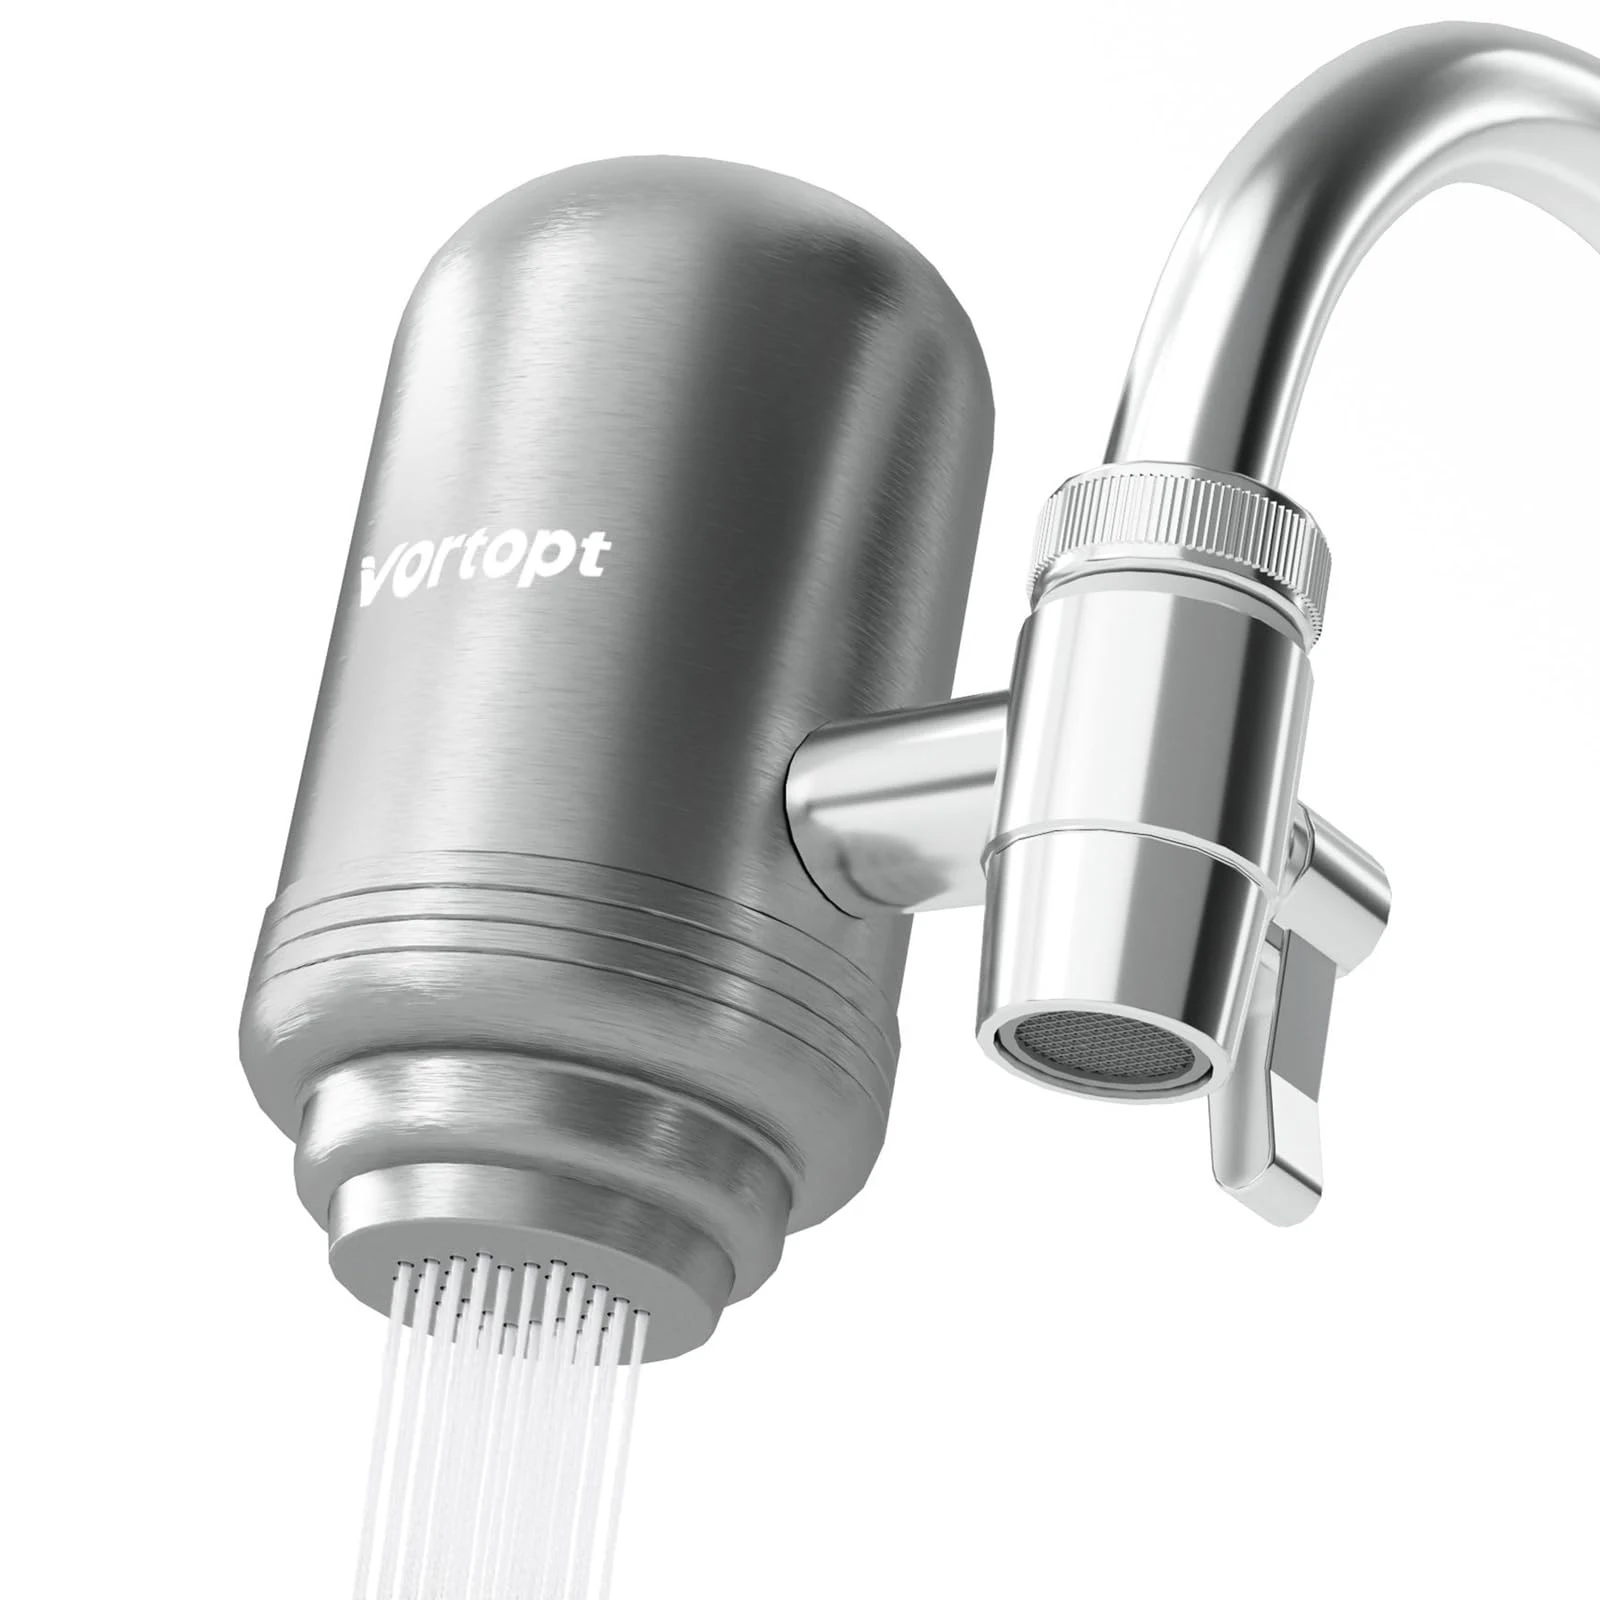
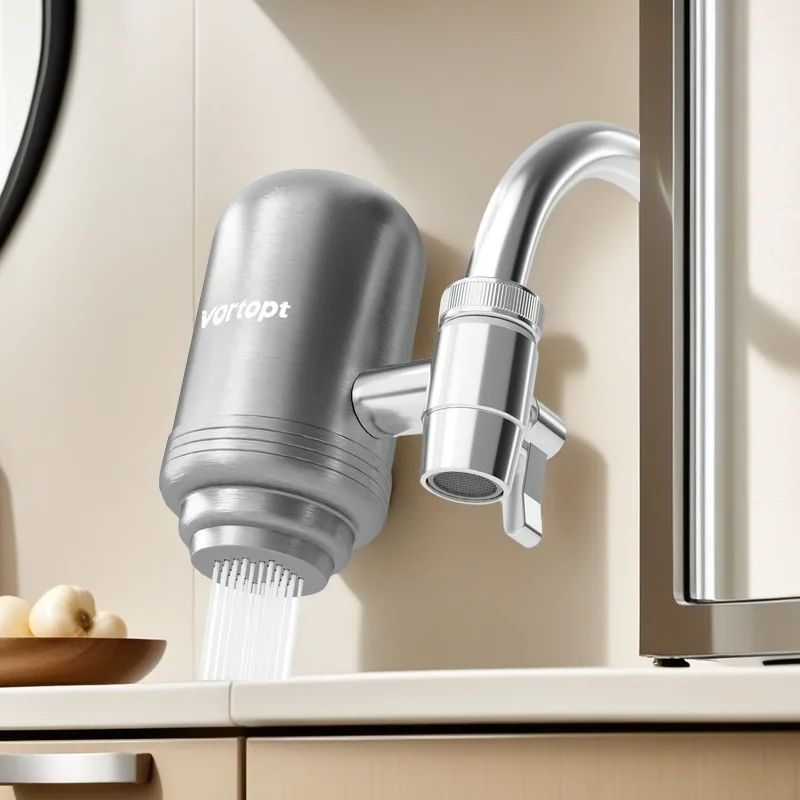
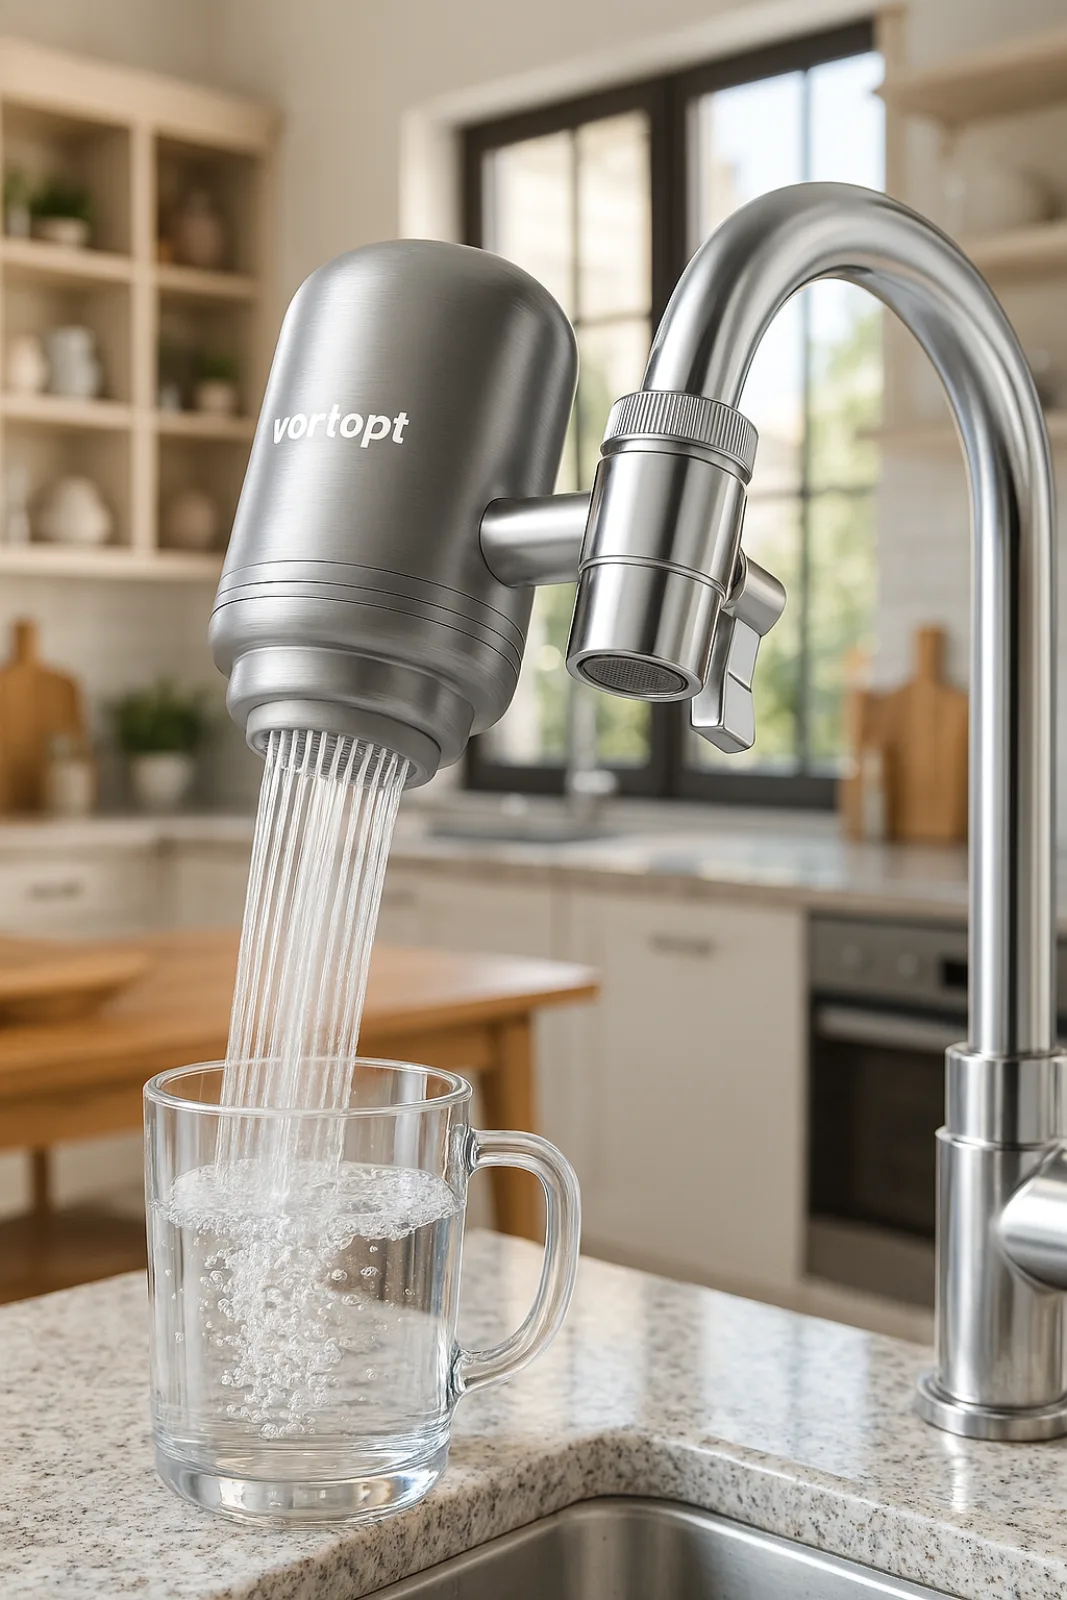
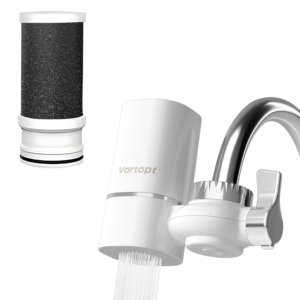
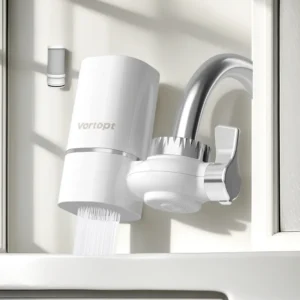
The T2 is designed to mount at a compatible faucet outlet, keeping the filter body beside the faucet instead of occupying counter space with a separate pitcher or countertop base. Its outer cover has a stainless steel finish, and the selector lets you direct water through the regular tap-water outlet or the filter outlet after installation.
Choose this format when you want a faucet-mounted system and can verify the outlet connection first. The product photos show the exact T2 form, but a photo cannot confirm your faucet threads. Compare the outlet, remove the existing aerator if appropriate, and identify whether the faucet is threadless, internally threaded or externally threaded. If the route remains unclear, send a clear outlet photo and the T2 model name through VORTOPT support before purchase.
Compare the two T2 package options
The product selector is the final source for the package added to your cart. Both options contain the T2 faucet system; the difference is the total number of filters included. Select the option deliberately, then confirm the wording again in the cart before checkout.
| Package shown in selector | Installed filter | Spare filter | Best for |
|---|---|---|---|
| 1 total filter (installed) | 1 | 0 | A complete T2 setup without an extra cartridge |
| 2 total filters (1 installed + 1 spare) | 1 | 1 | A complete T2 setup with one spare ready for later |
Prices can differ by option. Do not infer the package from the main photo alone; the selected option and cart line control what you are ordering.
Check the faucet outlet before ordering
Faucet compatibility depends on the shape and connection at the outlet. The T2 manual illustrates three routes: a threadless outlet using the matching clamping fitting, an internally threaded outlet, and an externally threaded outlet. The appropriate adapter and rubber seal must sit correctly for the connection you have.
- Look beneath the faucet spout and identify whether an aerator is present.
- After removing the aerator, check whether the threads are inside, outside or absent.
- Confirm that the outlet provides enough straight seating area for the applicable fitting.
- Do not force an adapter that starts at an angle or does not turn smoothly.
Decorative, pull-out, sensor, spray-head and unusually shaped faucets may require a different solution. No universal-fit claim is made on this listing.
Match the fitting and rubber seal
A reliable installation begins with the correct fitting rather than extra tightening. Place the rubber seal as shown for the selected connection path, align the fitting squarely and tighten it evenly. A missing, folded or off-center seal can allow water to escape around the joint even when the metal parts feel tight.
For an internally or externally threaded faucet, start the adapter by hand so you can feel whether the threads engage cleanly. For a threadless connection, position the clamping parts evenly around the outlet. Stop if the faucet surface, adapter or seal begins to distort. Recheck the connection type instead of using excessive force.
Inspect the T2 and included parts
Before installation, place the system and supplied parts on a clean towel. Check that the T2 housing, selector, outlet, chosen fitting, rubber seal and package quantity match the order. The one-filter option should show one installed filter; the two-filter option should show one installed filter and one spare.
Do not install a cracked housing, damaged thread, torn seal or visibly deformed fitting. Keep the order details and model name available if support is needed. The T2 should not be confused with the VORTOPT T1 faucet water filter, and replacement products should be selected by confirmed model compatibility rather than appearance alone.
Install the T2 step by step
- Turn off the faucet and protect the sink so small parts cannot fall into the drain.
- Remove the existing aerator only when the faucet design allows it.
- Identify the threadless, internal-thread or external-thread connection route.
- Fit the correct rubber seal and adapter for that route.
- Align the T2 connection squarely and tighten it securely without forcing the threads.
- Point both outlets into the sink, restore the water slowly and inspect every joint.
- If water appears around the fitting, turn the faucet off, reseat the seal and reconnect.
This sequence summarizes the supplied T2 guidance; keep the exact manual with the product. Installation should finish with a stable body, an accessible selector and no leakage at the faucet connection.
Use tap-water and filtered-water modes correctly
The selector changes which outlet carries the water. Use the regular tap-water path for tasks that do not require the filter path, and switch to the filter outlet when that mode is wanted. Move the selector deliberately rather than leaving it between positions, because a partial setting can produce an unclear flow path.
Start with a moderate flow and observe the housing and adapter. The T2 evidence does not establish a universal pressure or temperature range, so avoid treating the product page as permission for extreme operating conditions. Do not route hot water through the filter. If the unit shifts, leaks or produces an unusual flow pattern, turn the faucet off and inspect the connection before further use.
Flush the new filter and perform a leak check
After installation or cartridge replacement, direct the filter outlet into the sink and run water through the newly installed filter until the water appears clear. This first-use flush clears loose material associated with a new cartridge and gives you time to inspect the system under flow.
Check the faucet adapter, rubber seal, housing joint and outlet while the water is running. Then turn the water off and look again for slow droplets. If leakage continues after the seal is correctly seated, stop using the system and contact support. Do not rely on extra force to compensate for an incompatible outlet or damaged part.
Operate and clean the system safely
Wipe the exterior with a soft, damp cloth and dry the stainless steel surface to reduce water marks. Avoid abrasive pads and aggressive cleaners that can scratch the cover or damage plastic and sealing parts. Keep the selector area free of mineral buildup, but do not dismantle components beyond the instructions for normal installation and cartridge service.
The T2 is a point-of-use faucet filter, not a treatment claim for microbiologically unsafe water or water of unknown quality. The available source also does not establish NSF or ANSI certification, a specific micron rating, or guaranteed removal of chlorine, lead, fluoride, heavy metals or other named substances. Those claims are therefore not made here.
Plan cartridge replacement and spare storage
Cartridge life varies with water conditions, daily use and changes in flow. The verified T2 sources do not assign a guaranteed number of gallons or months, so replace by the current product guidance and actual service condition rather than an invented calendar promise. A substantial reduction in flow is one maintenance cue noted in the supplied material.
If you choose the two-filter package, store the unopened spare filter in a clean, dry place away from heat and direct sunlight. Keep its packaging and model reference so it is not confused with another cartridge. For model-labelled options, browse VORTOPT replacement filters; the T1 replacement filter and T1/T2 replacement filter 3-pack must only be ordered after compatibility is confirmed for the exact system.
Understand verified specifications and limits
| Model family | VORTOPT T2 faucet water filter |
|---|---|
| Installation location | Compatible faucet outlet |
| Connection routes shown | Threadless, internally threaded and externally threaded, using the appropriate fitting and seal |
| Package choices | One installed filter, or one installed plus one spare |
| Outer appearance | Stainless steel cover and faucet-mounted selector body |
| Fit boundary | Not universal; check the exact faucet outlet before ordering |
| Unverified claims excluded | Fixed gallon/month life, named contaminant percentages, medical outcomes and NSF/ANSI certification |
For other faucet-mounted formats, visit faucet water filters. Review the shipping policy and returns information before completing the order.
VORTOPT T2 faucet water filter FAQ
Does the VORTOPT T2 fit every faucet?
No. The listing does not make a universal-fit claim. Identify whether your outlet is threadless, internally threaded or externally threaded, then confirm that the applicable fitting and seal can seat correctly.
What comes with the one-filter option?
It includes one total filter installed in the T2 system. It does not include a second spare cartridge. Confirm the selected option in the cart.
What comes with the two-filter option?
It includes two total filters: one installed in the T2 and one spare. Store the unopened spare clean, dry and away from heat and sunlight.
How do I identify the correct connection path?
Remove the aerator only when appropriate and inspect the outlet. Threads inside indicate the internal-thread route; threads outside indicate the external-thread route; no threads require the supported threadless fitting route.
Can I run hot water through the filter?
Do not route hot water through the filter. Use moderate conditions and stop if the housing, seal or adapter shifts or leaks.
What should I do after installation or replacement?
Run water through the new filter until it appears clear, inspect each connection under flow, then turn the water off and check for slow droplets.
When should the T2 filter be replaced?
The evidence does not support a fixed month or gallon promise. Follow the current product guidance and actual service condition; a substantial reduction in flow is one maintenance cue.
Where can I confirm a replacement pack?
Use the exact T2 model reference and confirm compatibility on the replacement listing. If the label or model is unclear, contact VORTOPT before ordering rather than matching only by shape.
Verified compliance evidence
RoHS 2.0 and REACH records
RoHS report MTL24031100311R01 lists E-T2-ACF and E-VT-T2-NEW, and REACH certificate AZT250522088C-EV0 lists E-T2. VORTOPT confirms these E-prefixed manufacturing codes map to the public T2 model. These records address restricted-substance and submitted-sample material-compliance topics only; they do not certify filtration performance or a reduction percentage.
| Weight | N/A |
|---|---|
| Included filters | 1 total filter (installed), 2 total filters (1 installed + 1 spare) |
Be the first to review “VORTOPT T2 Stainless Steel Faucet Water Filter”
Related products

Faucet Water Filters
Faucet Water Filters
Reviews
There are no reviews yet.